
Before we get started today I just wanted to say
Happy Pioneer Day
to all those living in Utah!!!
I hope you have a wonderful holiday!
Welcome to day 4 of our Blog Birthday Bash!!!

I hope you have been able to look at the past posts for the birthday bash! We have had some fun guest bloggers and awesome giveaways!
To enter for the Fancy Chalkboard Labels go HERE
To enter for the Vinyl Photo Collage Words go HERE
Today we have Guest Blogger JoAnn from
Hello! I’m JoAnn and
my blog is SweetPepperRose.
I'd like to thank Jill for asking me to Guest Post today here at Two Yellow Birds Decor.
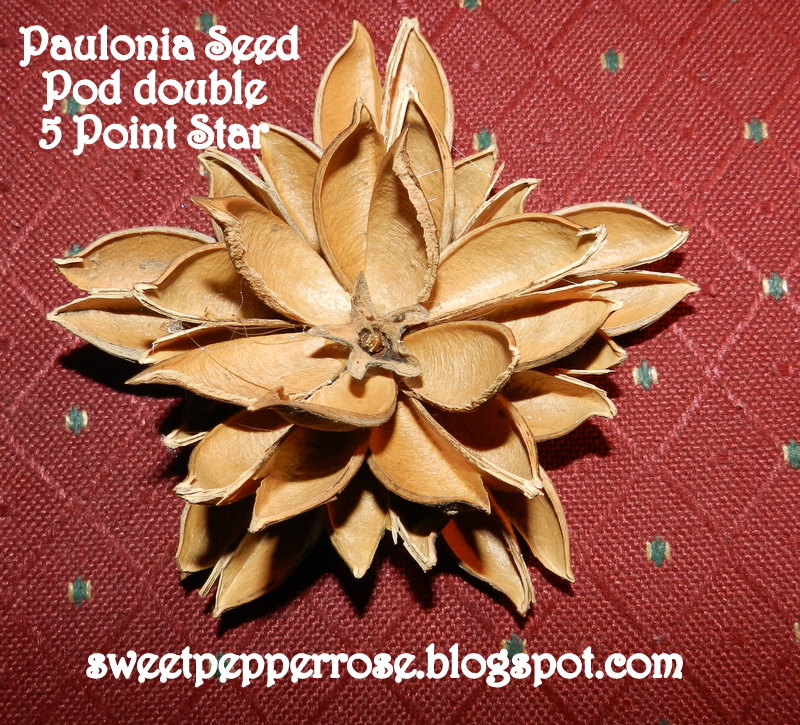
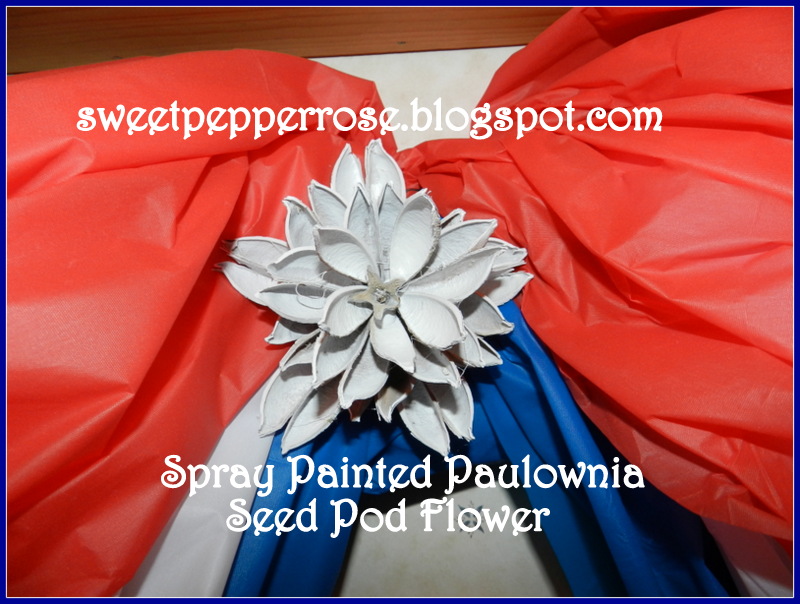
I'll be sharing a tutorial on how I made my
Paulownia Seed Pod 5 Point Star that I used in my July 4th
tablescape.
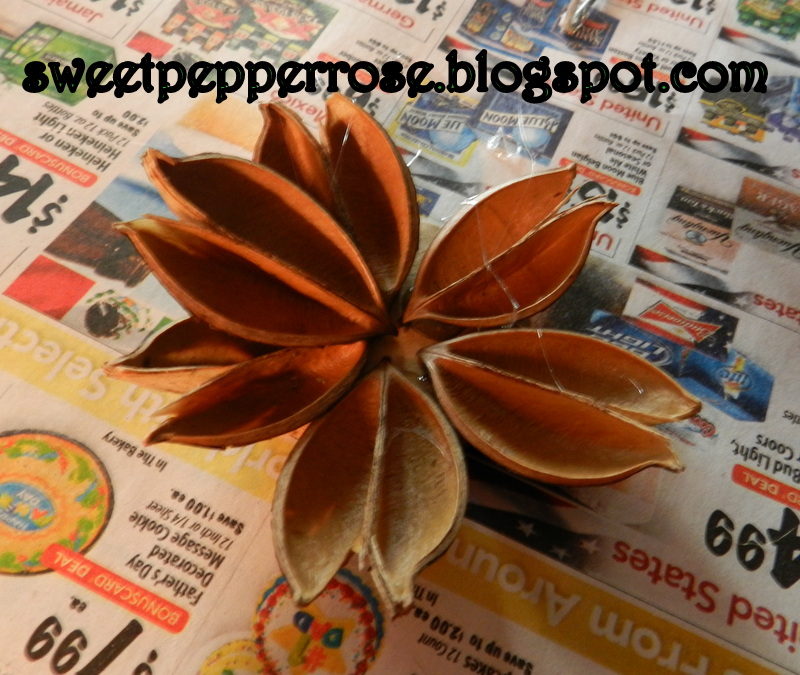
As you can see from the photos, these will have a 3-D shape!

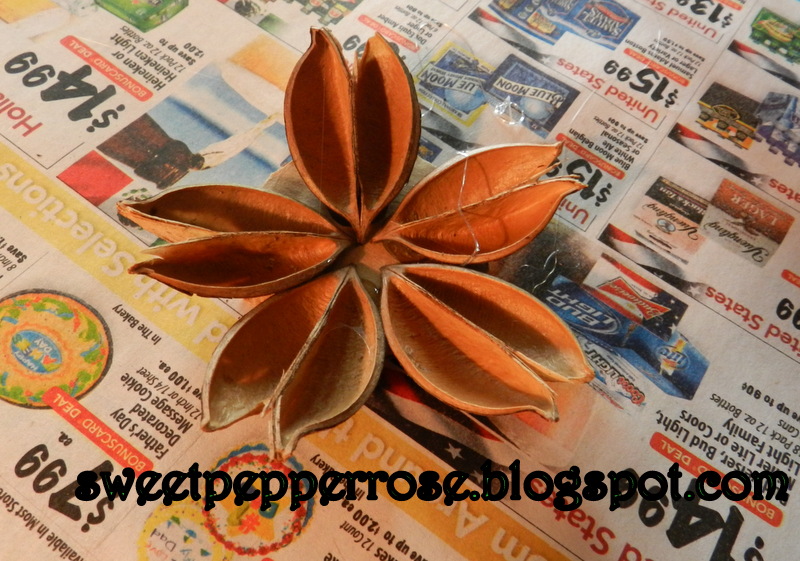
The Paulownia, also known as the Empress, seed pods naturally
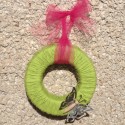
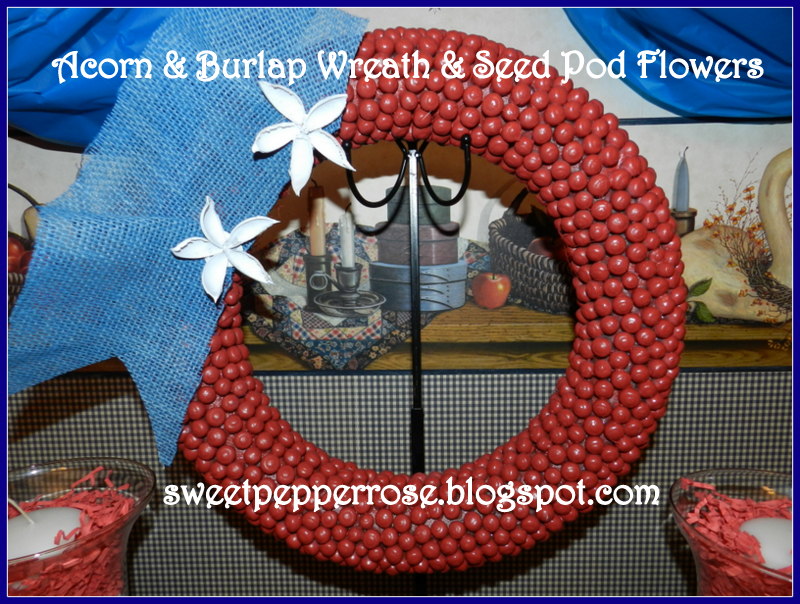
open halfway when they dry out, making it very easy to finish the separation. There is also a small center “star” when pulled apart correctly.(the "claw-foot" at the left end:) I refer to the halves as doubles, and these can also be separated into singles, which is what I made the stars with on my July 4th Acorn & Seed Pod Wreath. One end of the seed pods will have two points, the other only one.

the thin sheath, discarding it and the seeds into the trash.
.JPG)
O.K., Let get started!
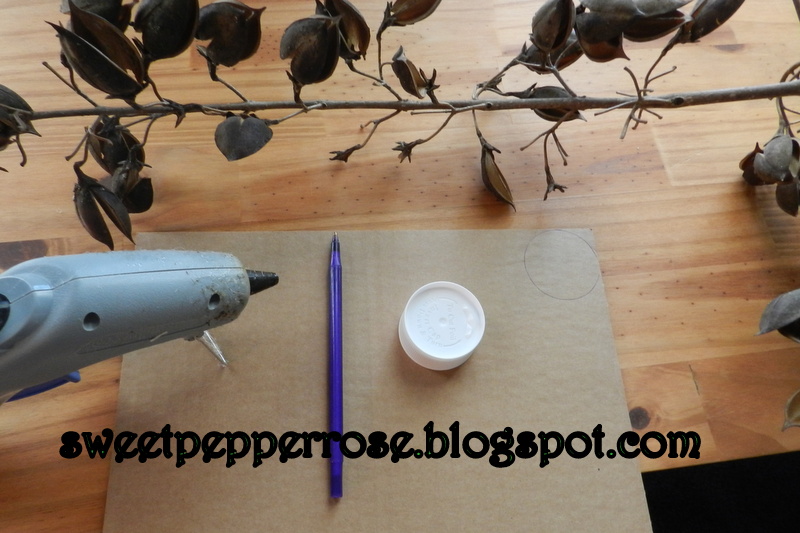
Supplies:
Paulownia seed pod hulls:15
doubles and 5 singles
One small center "claw foot" star
Cardboard circle,
about 1 ½ inches in diameter
(I traced the lid from a drink bottle)
Pen; Scissors; Hot glue gun
Gym clip or Pop Top, for hanging
Gym clip or Pop Top, for hanging

Begin by putting hot glue at the end with one point.

Place at the center of the cardboard circle,
pressing down the point of the hull.
Continue around the circle, leaving a "hole" in
the center. You should end up with something like this.
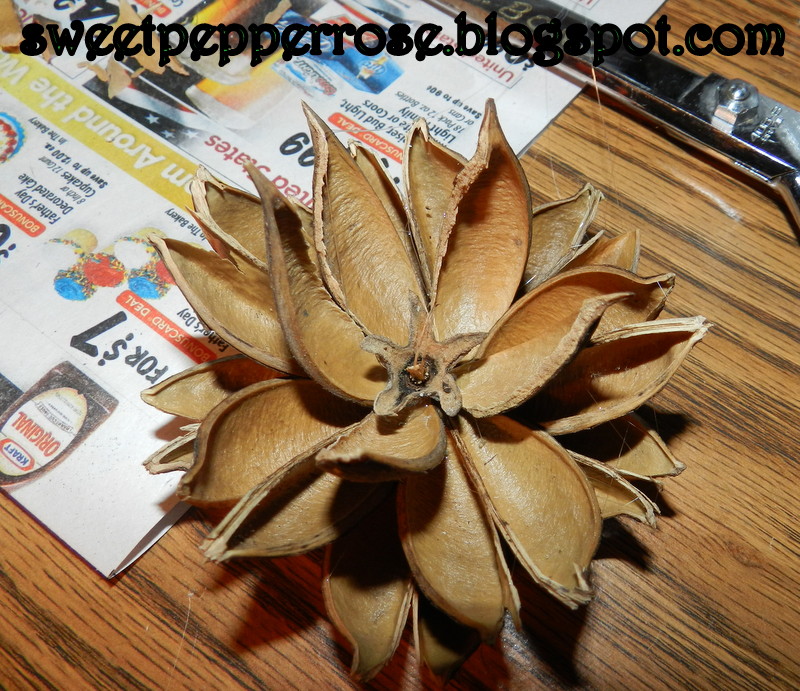
Begin the next row UP by situating the double pod
in between the bottom two, again pressing the point down.
Remember, you are creating a 3-D type star, so the
ends will be pointing upward.

Second row finished!

Hot Glue the small "claw foot" center star
into the middle "hole."
Place the 5 "singles" around the center star.
Now, you will go back and finish the
BOTTOM row, by placing 5 double pods into the
wider spaces on the cardboard.
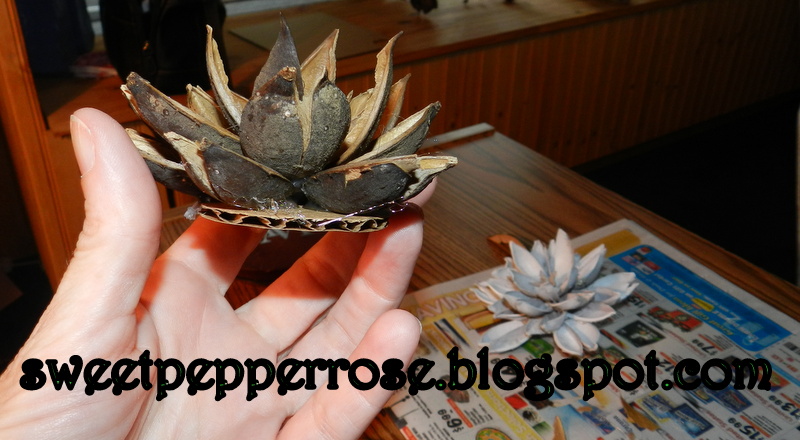
And there you have it! You may leave it natural or
you can spray paint them. Add glitter!
They'd make excellent Christmas tree ornaments!
FYI: I hot glued a large gym clip onto the white
July 4th star, in order to hang on my quilt rack.
I hope you have enjoyed this tutorial - if so,
please visit my site and leave me a comment.
Again, I'd like to thank Jill for asking me to
Guest Post for her terrific site today!

What a great decor these paulownia seed pods can make! What a creative idea! Thanks JoAnn for sharing your tutorial with us today!
*********************************************
Our GIVEAWAY today is from Brycie at
She is giving away a couple of things from her Etsy Shop today.
A pair of Rose Earrings
{She will be choosing the color}
and a Mini Tote Bag
{It will be smaller then the one pictured, but still roomy. It will be chevron pattern on the outside and plain cream on the inside.}
These are absolutely adorable!


These two items will go to ONE lucky winner!!!
{This is open to U.S. Residents Only}
You will have until July 30th at Midnight to enter this giveaway!!
Thank you so much to JoAnn and Brycie for helping with our bash today!!

Jill, again, thank you so kindly for asking me to Guest Post today! Happy Tuesday to you!
ReplyDeleteJoAnn
Love it. Great job.
ReplyDeleteHugs
Trace
www.grannytracescrapsandsquares.com
Thank you so much!
DeleteWow, I love it! It is so pretty. Now you know I have to hunt some of these pods down!!! LOL
ReplyDeleteBTW, I am pinning this beauty. :)
DeleteThanks, Kathy! glad you like it.
DeleteGreat tutorial, I am pinning as well. xo Ginger
ReplyDeleteI appreciate that Ginger - hope you and your daughter have fun making them together :)
DeleteJoAnn
Those are beautiful, JoAnn! And a great tutorial! Thanks for sharing!
ReplyDeleteTammy
Thanks Tammy! I appreciate your comment! It means a lot to me :)
Delete